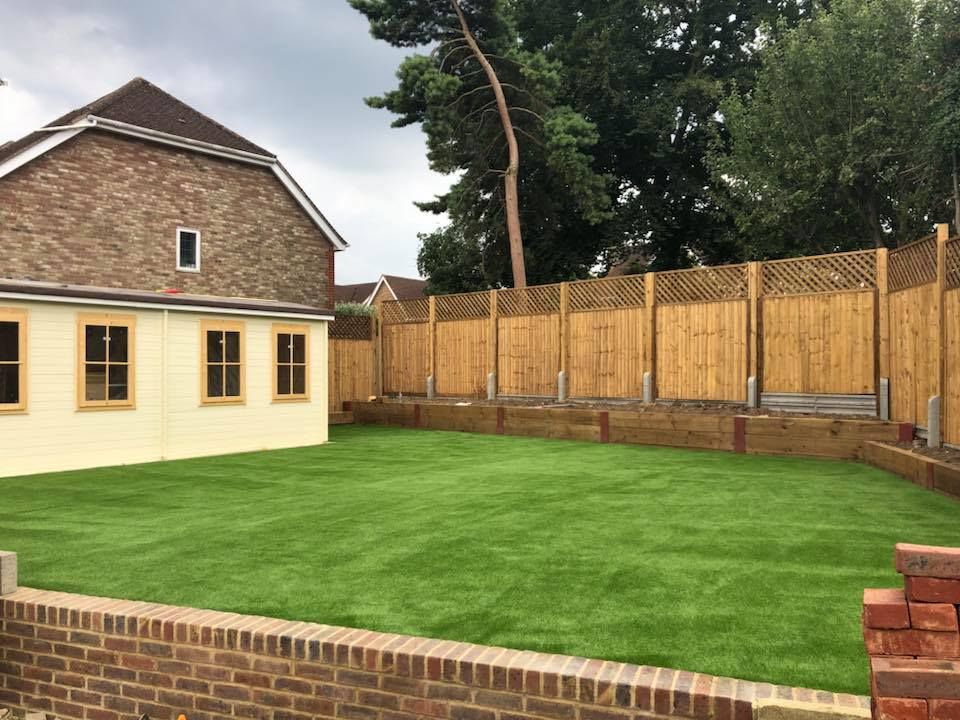
Once you’ve got your hands on your amazing Artificial Grass, it’s time to start laying it so that you can create the garden of your dreams, here’s our step-by-step guide to installing your artificial grass turf in no time!
1: Remove Existing Lawn
Remove the existing lawn and excavate to 50-100mm below finished height. In some gardens, depending on existing levels, you can just remove the existing grass, which would remove around 30-40mm and build up 50-100mm from there. Use a turf cutter to make the job easier and cut down labour time.
2: Install Edging
We recommend installing a 3×2 timber perimeter approx 10-15mm below any finished height to paving areas, using stakes driven into the ground to fix these to, This creates a good edge to fix your artificial grass to.
3:Install Membrane
To prevent weeds from growing through your lawn, lay 1000 terram geotextile membrane to the whole artificial grass area be sure to overlap any joins by at least 50cm. Use Galvanised U-Pins to hold the membrane in place.
4: Install Sub Base
For the sub-base, use MOT Type 1 50-100mm depth Rake and level the aggregate to the required depth. It’s very important to ensure the sub base is thoroughly compacted using a vibrating plate compactor if not you will get sinkage over time.
5: Install Granite Dust
Rake and level approximately 25mm of Granite Dust (Grano Dust) directly on top of the sub-base allow for compaction. Ensuring this is thoroughly compacted with a vibrating plate compactor. Spray the granite dust with water to keep the dust down and it also helps the aggregate to bind together. You may need to top this up after compacting.
6: Open Your Simple Grass
Lay the grass in a position so that the pile direction is facing towards your house or main viewpoint as this tends to be the best side to view the grass from. If you have more than one roll of Simple Grass, make sure the pile direction is facing the same way on both pieces.
7: Joins
When done right joins will be invisible. Fold back both pieces of grass. Cut off 2-3 stitches from each piece of grass using our Simple Join Cutter. Then fold each piece back over and check that the two pieces of grass meet. Use a carpet stretcher to adjust the grass and get into the right position, when they are correctly positioned, fold the grass back over again to reveal the latex backing. Roll out the Joining Tape (shiny side down)you can fix this onto your timber perimeter at both ends to hold in place. Apply the adhesive you can now fold the grass back together starting at one end to the other making sure that the grass pile (fibres) do not touch the adhesive Make sure there is good contact between the grass
8: Cutting In
Now, using a Delphin Knife with Heavy Duty Blades, cut the grass to the shape required, Take your time to get the perfect fit. Secure the perimeter using Green galvanized nails to your timber edging.
and adhesive by carefully walking along the join. Then allow the adhesive sufficient time to cure (between 2-24 hours depending on weather conditions).
9: Power Brush
Last, of all you can now use a Power Brush to lift the pile of your Simple Grass Artificial Lawn


